
Mechanical Testing
Location
Campus Address
Mailing Address
25 King Hill Road, Unit 3136
Storrs CT 06269-3136
Instrumentation
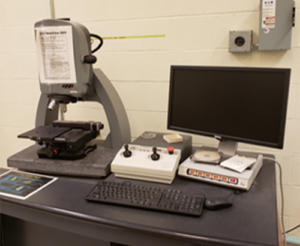
Zygo New View 5000
Optical profilometry utilizes white light interferometry to analyze a surface. Surface reflected light creates constructive and destructive interference with a reference light beam in the detector which correlates to surface topography.
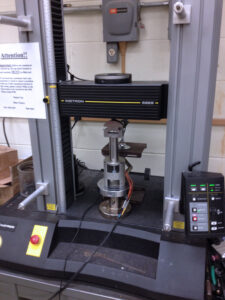
Instron 5869
Samples are placed between two grip fixtures and force is applied by motion of the cross-head. The resulting stress is calculated and recorded by the computer. Stress-strain curves are utilized to calculate elastic modulus, elongation/compression at break, ultimate tensile/compression strength, and yield points.
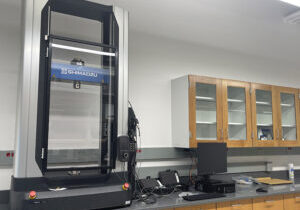
Shimadzu AGX-V
Tensile and compression testing are methods of determining material properties of samples. Samples are placed between grip fixtures and force is applied by the motion of the cross head. Stress and strain values are recorded digitally and used to calculate modulus, strength, and other material properties useful for material performance.
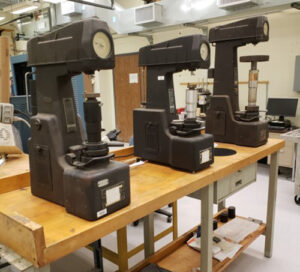
Wilson Rockwell Hardness Tester
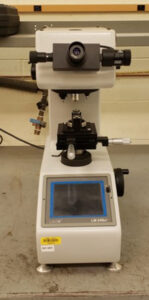
LECO Microhardness Tester
Samples are pressed with an indenter tip at a certain load force for a discrete length of time. The difference in load applied and unloaded is recorded as the hardness value.